Insert The User’s City Into Your Landing Page
Adding the user's city is easy with Easy Landing, but we don't stop there.
Three Ways To Insert The User’s City
Depending on the type of traffic you’re running and where the text shows up on the page, your options are:
- Inserting the city from a Google Ad (best for Google Ads)
- Inserting the user’s real location (~50ms time penalty)
- Inserting the user’s real location, but in a non-blocking way (no time penalty)
Click to jump to inserting the user's real city
Inserting The City From A Google Ad
If a user searches “Mold Remediation Los Angeles”, but they’re currently located a few hours away, a regular city swap would give them a confusing result. They searched “Los Angeles”, so they’re expecting to see “Los Angeles”.
1. Insert Your Users City Into The Ad
To get your users city into your Google Ad, you need to use a Responsive Search ad with a special ad formatting keyword. You can see here that I’m inserting the user’s City with a fallback of CT, which stands for Connecticut for this campaign.

2. Pass The User’s Location To Easy Landing
Next, add these to your tracking URL at the ad, ad group or campaign level.
{lpurl}?physical-loc-el={loc_physical_ms}&interest-loc-el={loc_interest_ms}
If you are only targeting physical location, add this snippet:
{lpurl}?physical-loc-el={loc_physical_ms}

3. Set The Variable In Your Swap
The keyword for this is {{googleCity:Fallback text here}}. Just add it to your after value, and it’ll work!

Inserting The User’s Real City
Inserting your user’s real city is not always accurate, especially with cellular connections. Wifi connections perform much better.
Insert {{city}} or {{city:nonBlocking}} into your after to get the insertion to work. The difference is explained below.
Showing No Text Swapping
If your city insert is above the fold, meaning visible when the visitor lands on your site, just using the {{city}} keyword is best.

This method has a ~50ms speed penalty from our testing (worldwide), but that can increase slightly on slow connections.
Showing Text Swapping
If your city insert isn’t visible when the visitor first gets to your page, {{city:nonBlocking}} is the better option.
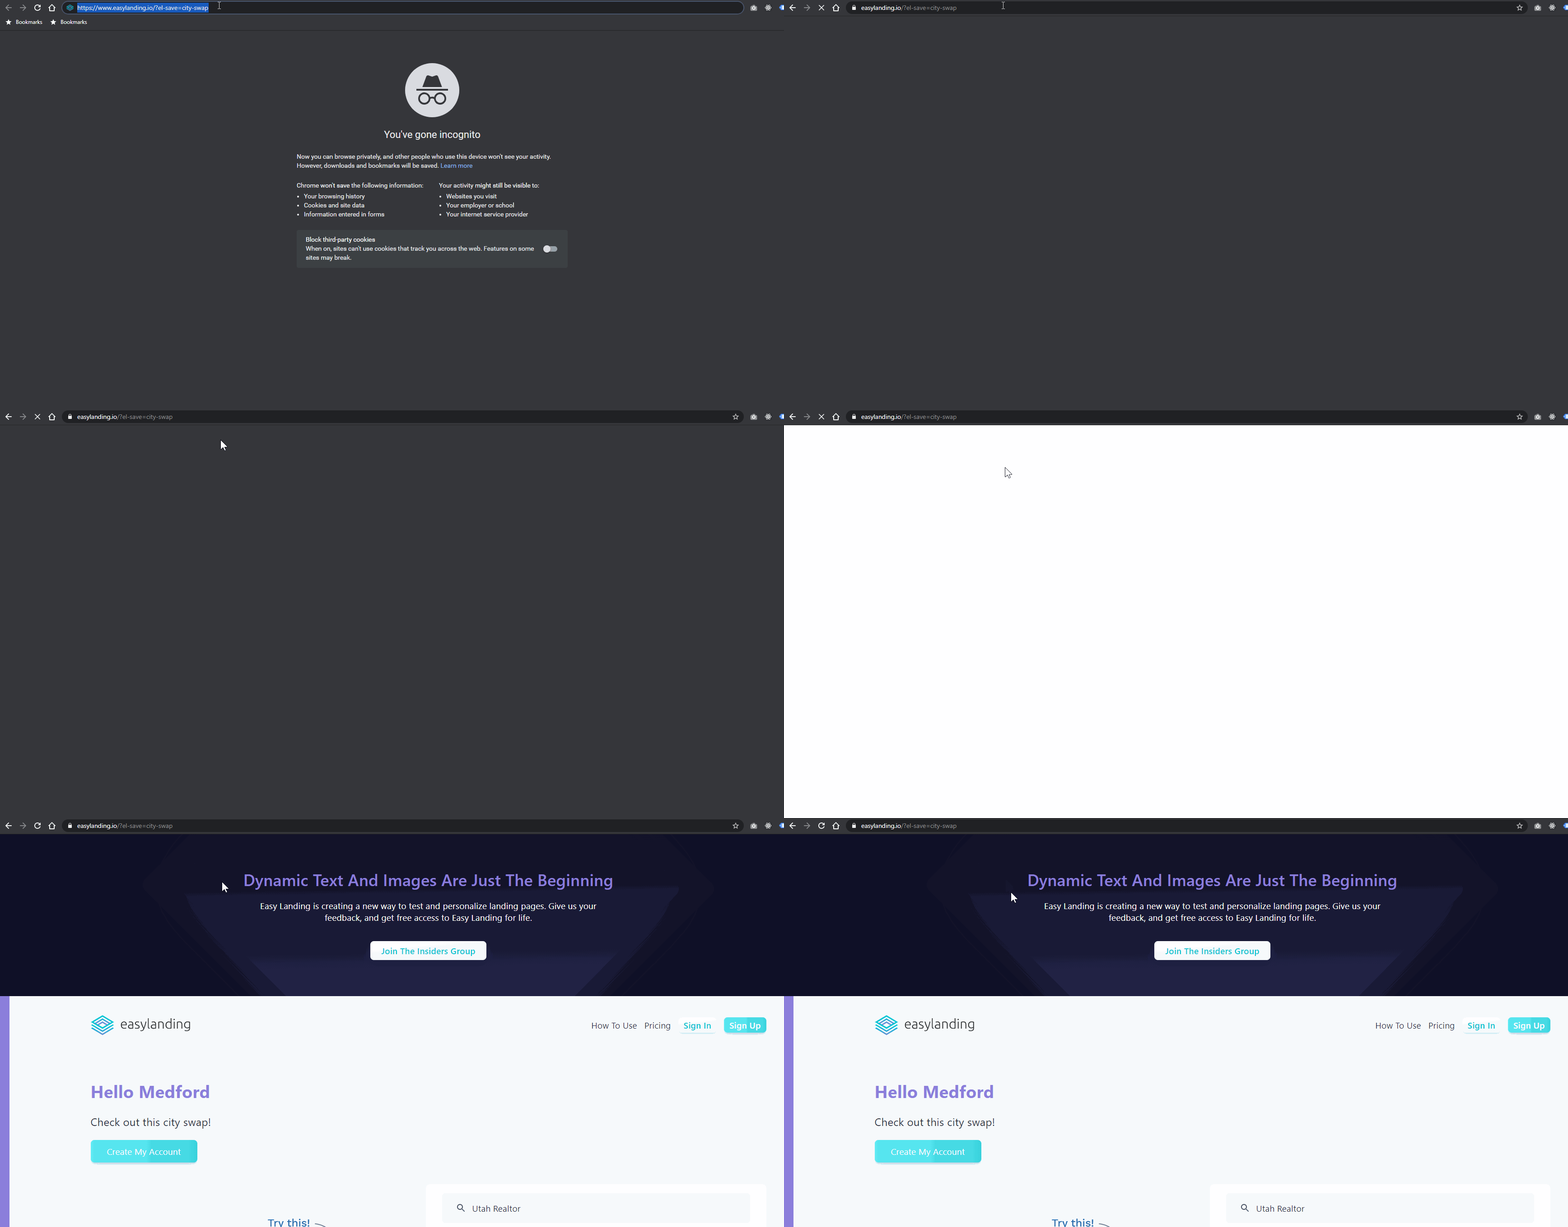
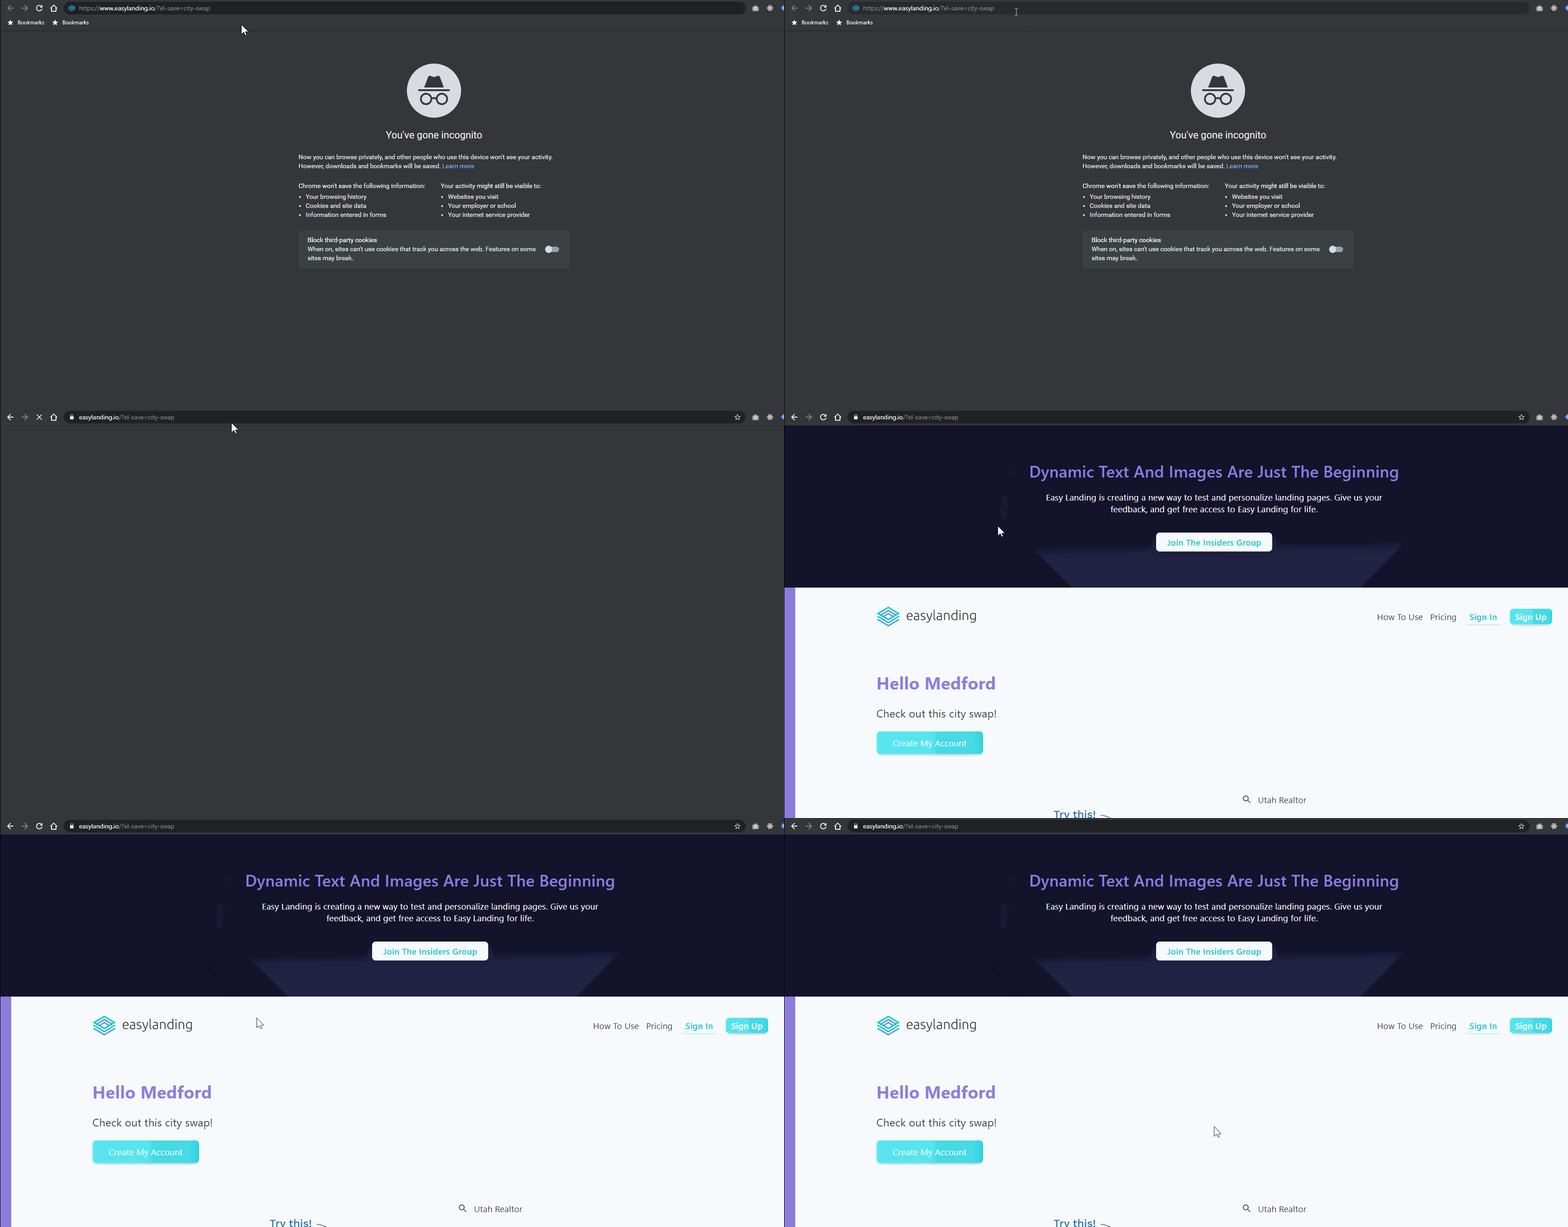
As you can see, the text flashes from the before to the after. If the text isn’t visible it’s not big deal.
